If you're an avid cyclist, runner, or hiker, you likely understand the importance of mapping your routes and tracking your activities. Strava, a popular platform for athletes, allows you to do just that. One of the most efficient ways to add new routes to your Strava account is by importing GPX files. Whether you've downloaded a route from a friend, discovered one online, or exported it from a Garmin device, importing a GPX file into Strava is a straightforward process that can significantly enhance your route mapping experience.
In this guide, we'll walk you through how to import GPX files into Strava, ensuring you can view, save, and share your routes with ease.

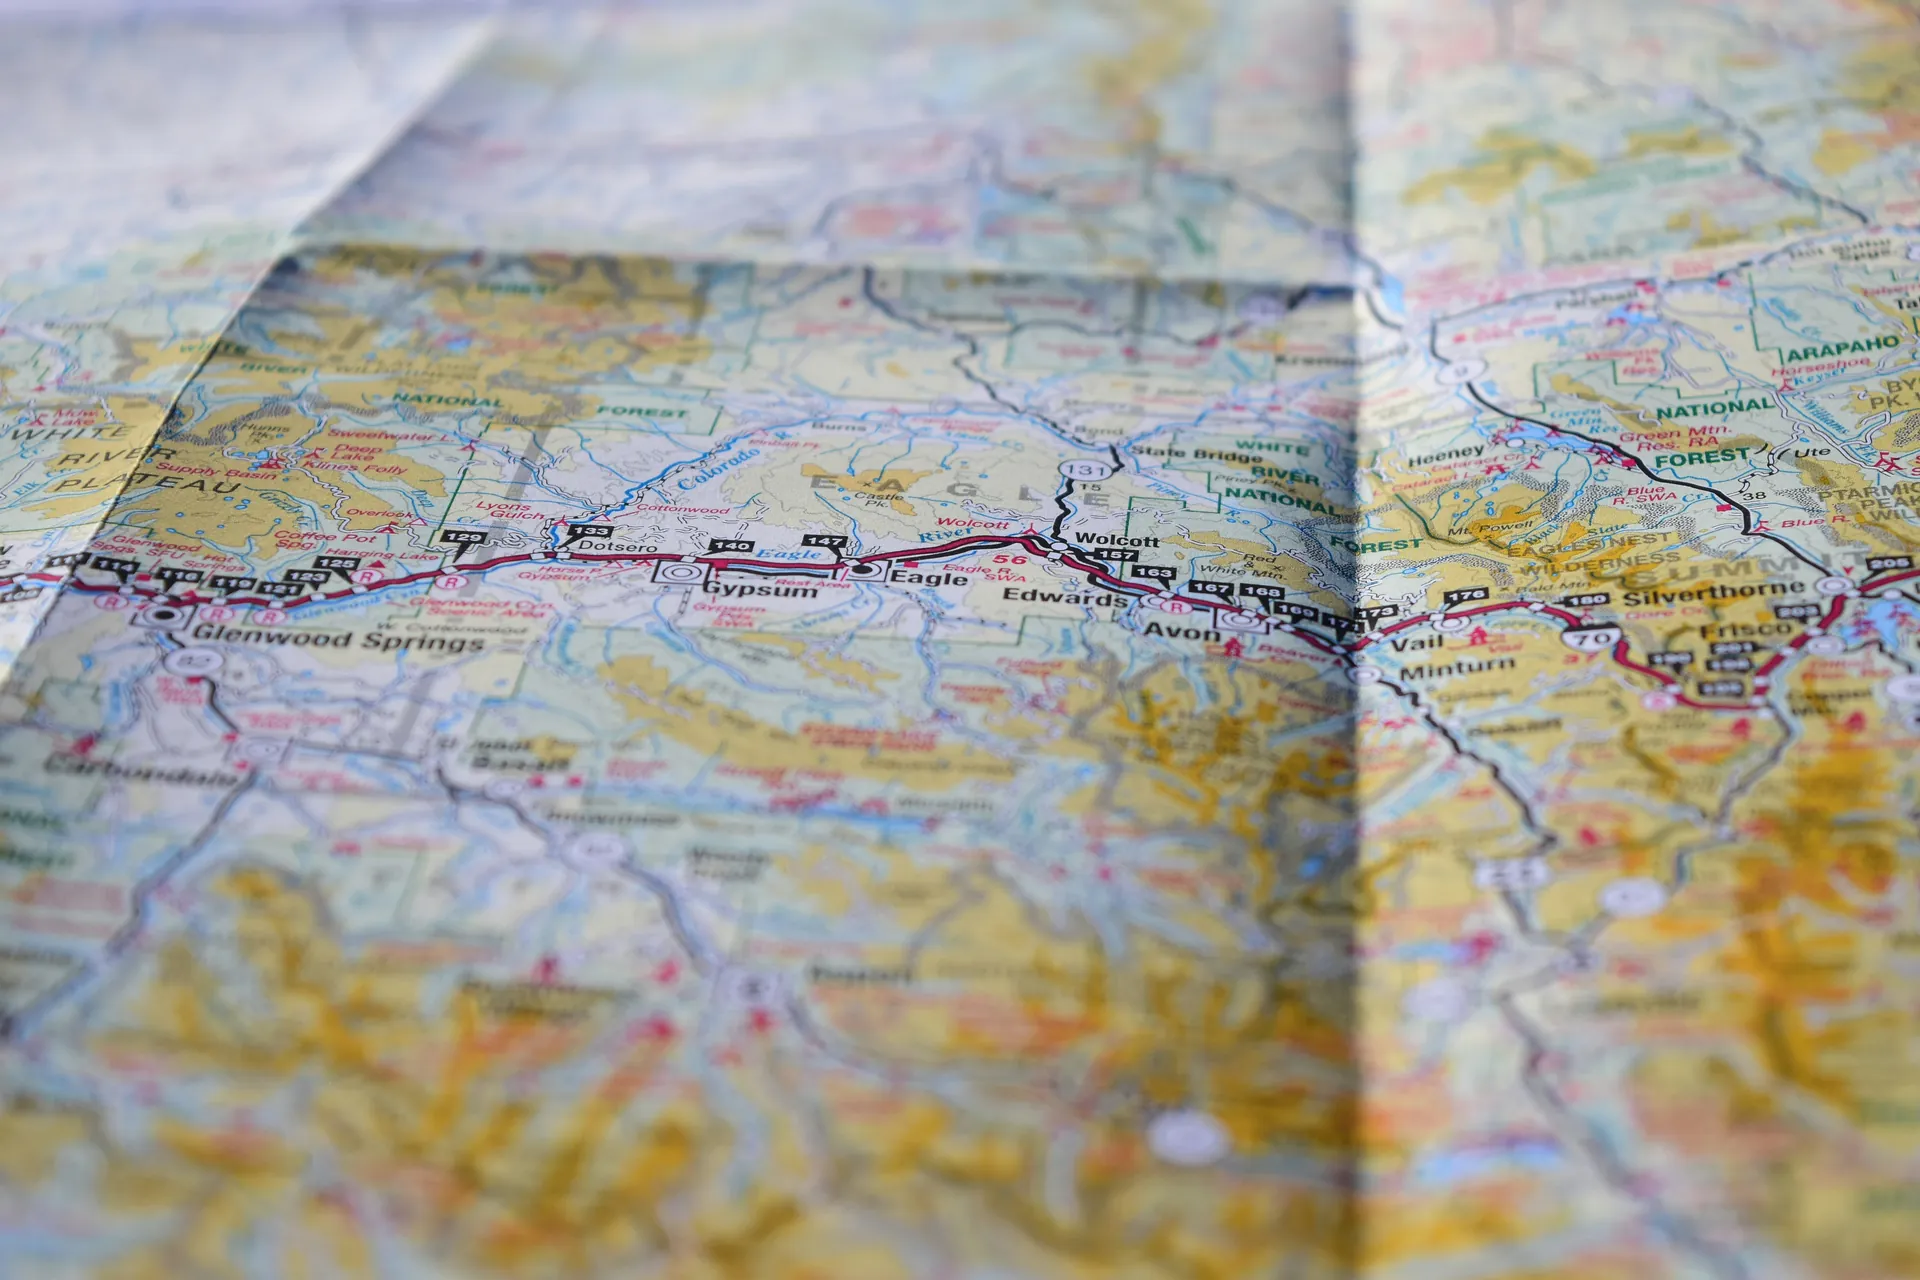
A GPX file, or GPS Exchange Format file, is an XML schema designed to facilitate the exchange of GPS data between different applications and devices. It is an open format, which means it can be used without any licensing fees.
A GPX file can contain three primary types of data: waypoints, routes, and tracks. Waypoints are individual points with GPS coordinates and optional additional information such as elevation and time.
Routes are ordered lists of waypoints that guide you to a destination, typically used for planning future journeys. Tracks, on the other hand, consist of multiple segments of waypoints that represent journeys that have already been completed or recorded.
The use of GPX files offers several benefits for route mapping. One of the most significant advantages is the interoperability between different GPS devices and software applications. Whether you are using a Garmin device, Strava, or other mapping software, GPX files can be easily imported and exported, allowing seamless data exchange.
This flexibility makes it simple to share routes with friends, download routes from online communities, or transfer data from one device to another.
Another benefit is the comprehensive data that GPX files can store. In addition to latitude and longitude coordinates, GPX files can include elevation data, timestamps, and other relevant information such as heart rate and average speed, depending on the device and software used.
This detailed data helps in accurate navigation and performance tracking, making GPX files invaluable for athletes and outdoor enthusiasts.
Furthermore, GPX files are lightweight and easy to process, which makes them efficient for use in various applications. They can be opened and viewed in multiple mapping programs and web services, including Google Earth, Garmin’s Basecamp software, and mobile apps like ViewRanger. This versatility ensures that you can analyze and visualize your routes in the most convenient way possible.

If you haven't already, the first step in preparing to import GPX files is to create a Strava account. Setting up an account is straightforward and can be completed in just a few minutes. You can download the Strava app from the Apple App Store or Google Play Store, or sign up through the Strava website.
During the sign-up process, you can use your Facebook, Google, or Apple account, or create an account using your email address. You'll need to provide basic information such as your name, email, and a password.
After signing up, you'll be prompted to fill out some basic profile information, including uploading a profile picture, confirming your name, and providing your location along with other details. This step helps personalize your profile and makes it easier for other users to recognize you on the platform.
Before you can import a GPX file into Strava, make sure you have the file ready. GPX files can be obtained from various sources, such as downloading routes from online communities, exporting them from GPS devices like Garmin, or creating them using route-planning software.
If you're exporting a GPX file from a Garmin device or another GPS device, you'll typically need to connect the device to your computer, access the device's software (like Garmin's Basecamp), and export the desired route or track as a GPX file. Ensure the file is saved in a location that's easily accessible on your computer or mobile device.
Additionally, if you're downloading GPX files from online sources, verify that they are in the correct format and contain essential data such as waypoints, routes, or tracks. Many websites and communities offer pre-made GPX files for direct download, which can save you time and effort in planning your routes.

To start the process of importing a GPX file into Strava, you first need to access the upload page. Log in to your Strava account using either the Strava website or the Strava app on your mobile device. Once logged in, navigate to the upload section.
On the Strava website, you can do this by going to the dashboard and clicking on the "Upload Activity" button, which is usually found in the top right corner of the screen. Alternatively, you can directly go to the upload page via the URL: https://www.strava.com/upload/select.
After accessing the upload page, you will see an option to upload a file from your computer. Click on the upload button or the small upload arrow icon, depending on the interface you are using. This will prompt you to select the GPX file from your computer.
Navigate to the location where you saved the GPX file, select it, and click "Open" to initiate the upload process. Strava supports GPX, TCX, and FIT file types, so ensure your file is in one of these formats and is 25MB or smaller.
Once the file is uploaded, Strava will process the data and display the route on the map. You can then save this route in your Strava account by clicking on the "Save" or "Save Route" option.
This step ensures that the route is added to your collection and can be easily accessed and shared later.
Sometimes, you might encounter issues during the import process. One common problem is that the GPX file may not contain the necessary timestamps, which are required for Strava to correctly interpret the data.
To resolve this, you can use tools like those found on strava-jockey.app to add timestamps to your GPS files before uploading them to Strava.
Another issue could be that the file format is not supported or is corrupted. Ensure that the file is in the correct format (GPX, TCX, or FIT) and that it is not larger than 25MB. If the file is corrupted, try re-exporting it from the original source or using a different method to obtain the GPX file.
If you are experiencing difficulties with the upload process, check that your internet connection is stable and that you are using the latest version of the Strava app or website. Additionally, ensure that your Strava account is properly set up and that you have the necessary permissions to upload files.

Once you have successfully imported your GPX file into Strava, you may need to make some adjustments to the route. Strava allows you to edit the route to better suit your needs. To do this, navigate to the "My Routes" section of your Strava account, select the route you want to edit, and click on it to open the route details page.
Here, you can adjust the waypoints on the map, add or remove segments, and modify your route preferences as necessary.
If you need to make more complex edits, such as changing the start or end point of the route or modifying specific sections, you can export the GPX file from Strava and use an external tool like Strava Jockey. Strava Jockey offers advanced route planning capabilities and file processing tools, allowing you to edit track points, crop or split the route, and then re-upload the edited GPX file back to Strava.
After editing your route to your satisfaction, you can share it with friends, join a club, or make it public for the entire Strava community to see. To share a route, go to the "My Routes" section, select the route you want to share, and click on the "Share" option. You can choose to share the route via a direct link, through social media platforms, or by sending it to specific friends or clubs on Strava.
Sharing routes is a great way to collaborate with fellow athletes, plan group rides or runs, and discover new routes in your area. You can also join Strava clubs where members often share and discuss their favorite routes, providing valuable insights and recommendations. By sharing your routes, you contribute to the community and help others find exciting new places to explore.
To get the most out of your route mapping experience on Strava, there are several features and tools you can utilize to enhance your planning, navigation, and overall athletic experience.
Strava's Suggested Routes feature is a powerful tool for discovering new and popular routes in your area or when traveling. This feature suggests up to three routes based on the most popular paths among Strava users. You can filter these routes by distance, elevation gain, and surface type, making it easy to find a route that matches your preferences and fitness goals.
Whether you are looking to mix up your daily routine or explore a new area, Suggested Routes provides valuable insights and recommendations.
The Global Heatmap is another invaluable resource for route planning. This feature visualizes the most frequently used routes by Strava users, represented by blue lines on the map, with darker lines indicating higher usage. By toggling on the Global Heatmap, you can identify hidden trails and popular segments that might not be marked on traditional maps.
This is particularly useful for mountain bikers and trail runners looking to discover new singletrack routes. The Heatmap also helps in planning routes that avoid crowded areas or find off-peak times for a more solitary experience.
Strava's Route Builder allows you to create customized routes tailored to your specific needs. You can start by setting your preferences, such as the type of activity (running, cycling, hiking, etc.), and whether you prefer the most popular or direct route. The Route Builder also lets you optimize your route based on elevation and surface type preferences.
You can add waypoints to highlight key points of interest, aid stations, or other important locations along your route. Additionally, you can use the control panel to undo or redo steps, reverse the direction of the route, and save your route for future use.
Strava's route planning features also include the ability to view community photos and segments. By toggling on the Community Photos layer, you can see public photos taken along the route, which can help you visualize the terrain, road conditions, and points of interest. The segments feature reveals popular sections of the route, allowing you to plan your route around these segments and compare your performance with others.
This integration enhances your route planning by providing real-world insights and visual aids.
Strava calculates the estimated moving time for your route using your 4-week average speed or pace. This powerful feature allows you to plan your activities with greater accuracy, aligning them with your current fitness level.
When you share a route, the estimated moving time dynamically adjusts based on the viewer's profile stats. This makes it an incredibly useful tool for organizing group activities or recommending personalized routes to friends.
In conclusion, importing GPX files into Strava is a simple yet powerful way to enhance your route mapping and activity tracking experience. Key points to keep in mind include ensuring that your GPX file is in the correct format, contains the necessary timestamps, and using the Strava upload feature to import the file seamlessly. Additionally, Strava's tools, such as the Route Builder and Global Heatmap, can help you further optimize your routes.
By following these steps, you can consolidate your performance data, discover exciting new routes, and engage with the Strava community more effectively. Take the initiative to import your GPX files today and unlock the full potential of your Strava account.